Add Environment
Overview
Since the environments play a crucial role in development, testing, deployment, and ongoing operation of software they should be easily created/updated. Hence BOS provides a simple yet powerful way of managing environments.
How to add Environment
To add an environment in BOS, follow these steps:
Navigate to Manage Organizations: Access the Manage Organizations section in the BOS dashboard.
Go to Environments: Locate and click on the Environments tab.
Add Environment: Click on the + Add Environment button to initiate the environment creation process.
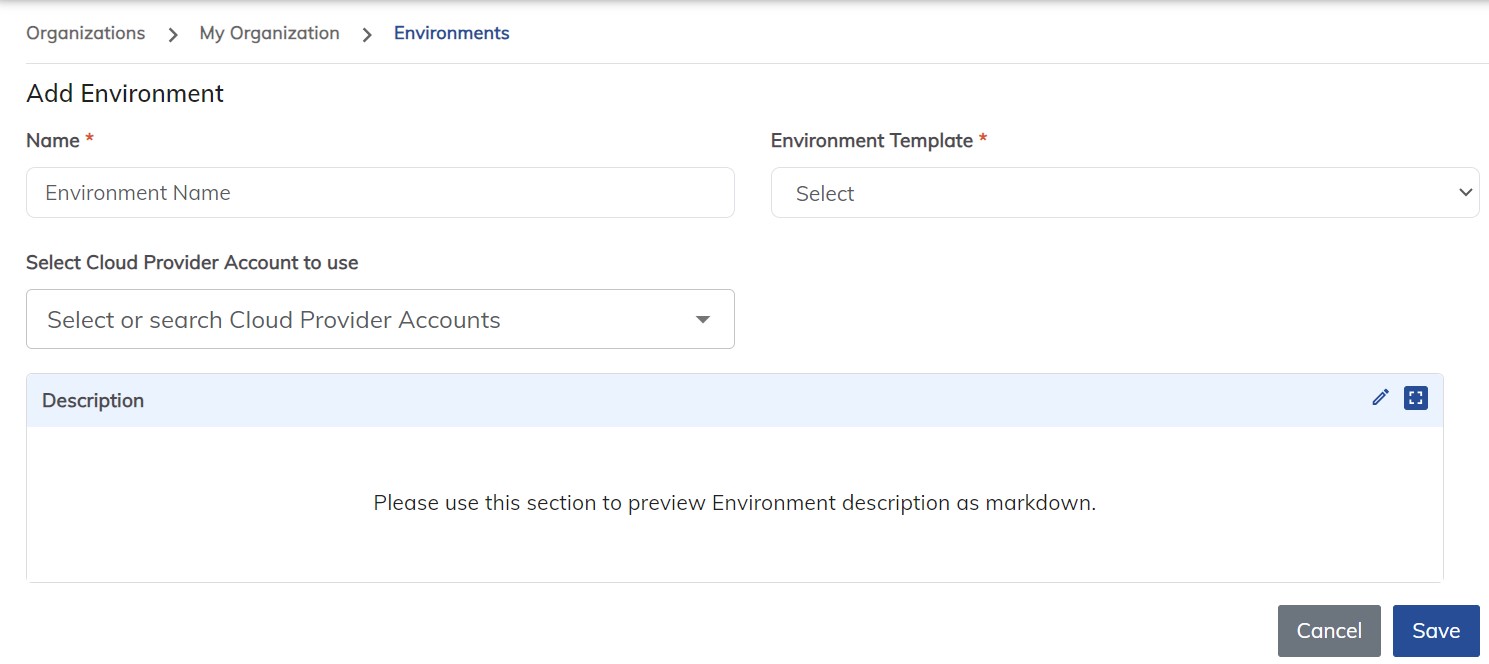
Fill in Details:
- Name: Enter a name for the environment.
- Environment Template: Choose the environment template from the provided list.
- Select Cloud Provider Account: Choose the cloud provider account to use for this environment. This account should be configured in the cloud accounts section.
- Description: Optionally, provide a description for the environment to provide additional context.
Save: After filling in the required details, click Save to create the environment.
Validation: Once the environment is created, navigate to the created environment and click on the Validate button to validate and view the resources that are going to be created.
Add Resources:
- After validation, click on + Resources to start adding resources to the environment according to your requirements.
Only Organization Owners and System Admins have the privilege to add environments in BOS. This ensures proper control and management of environment creation within the organization.
Following these steps, you can efficiently add environments in BOS, enabling you to organize and manage your workflows effectively.